我们应该已经学会了通过广播接收者来接收系统广播的内容,但是在实际开发中,仍需要自定义一些广播。下面我们就来讲解如何在应用程序中发送自定义的广播。
发送广播很简单,只需要声明一个意图,然后使用Context.sendBroadcast()方法发送意图即可。这里在布局文件中加入一个 Button 按钮来触发发送广播的事件,activity_main.xml代码如下:
<?xml version="1.0" encoding="utf-8"?>
<LinearLayout xmlns:android="http://schemas.android.com/apk/res/android" xmlns:tools="http://schemas.android.com/tools" android:layout_width="match_parent" android:layout_height="match_parent" tools:context=".MainActivity"> <Button android:id="@+id/send" android:layout_width="match_parent" android:layout_height="wrap_content" android:text="发送广播" android:textSize="30dp"/></LinearLayout>复制代码在Activity中对按钮的点击事件进行处理,发送广播。MainActivity代码如下:
package com.rfstar.normalbroadcasttest;
import androidx.appcompat.app.AppCompatActivity;import android.content.ComponentName;import android.content.Intent;import android.os.Bundle;import android.view.View;public class MainActivity extends AppCompatActivity { @Override protected void onCreate(Bundle savedInstanceState) { super.onCreate(savedInstanceState); setContentView(R.layout.activity_main); findViewById(R.id.send).setOnClickListener(new View.OnClickListener() { @Override public void onClick(View v) { //建立一个意图,action为com.rfstar.action.NORMAL_BROADCAST Intent intent=new Intent("com.rfstar.action.NORMAL_BROADCAST"); // 这一行在Android 7.0及如下版本不是必须的,可是Android 8.0或者更高版本,发送广播的条件更加严苛,必须添加这一行内容。 // 建立的ComponentName实例化对象有两个参数,第1个参数是指接收广播类的包名,第2个参数是指接收广播类的完整类名。 intent.setComponent(new ComponentName("com.rfstar.normalbroadcasttest","com.rfstar.normalbroadcasttest.MyReceiver")); Bundle bundle=new Bundle(); bundle.putString("name","大鸟科创空间"); bundle.putString("field","科技"); //向意向中加入数据 intent.putExtra("data",bundle); //发送广播,普通广播 sendBroadcast(intent); } }); }}复制代码这里的代码很简单,只是在按钮的点击事件里面加入了发送自定义广播的逻辑。首先构建出一个Intent 对象,并使用Bundle存储要传递的值,并用 intent.putExtra("data",bundle)把要发送的值传入,然后调用了 Context 的 sendBroadcast()方法将广播发送出去,这样所有监听 com.rfstar.action.NORMAL_BROADCAST这条广播的广播接收者就会收到消息。普通广播被发送之后,还需要定义一个广播接收者来准备接收此广播。这里新建一个 MyReceiver 类继承自 BroadcastReceiver 类,代码如下∶
package com.rfstar.normalbroadcasttest;
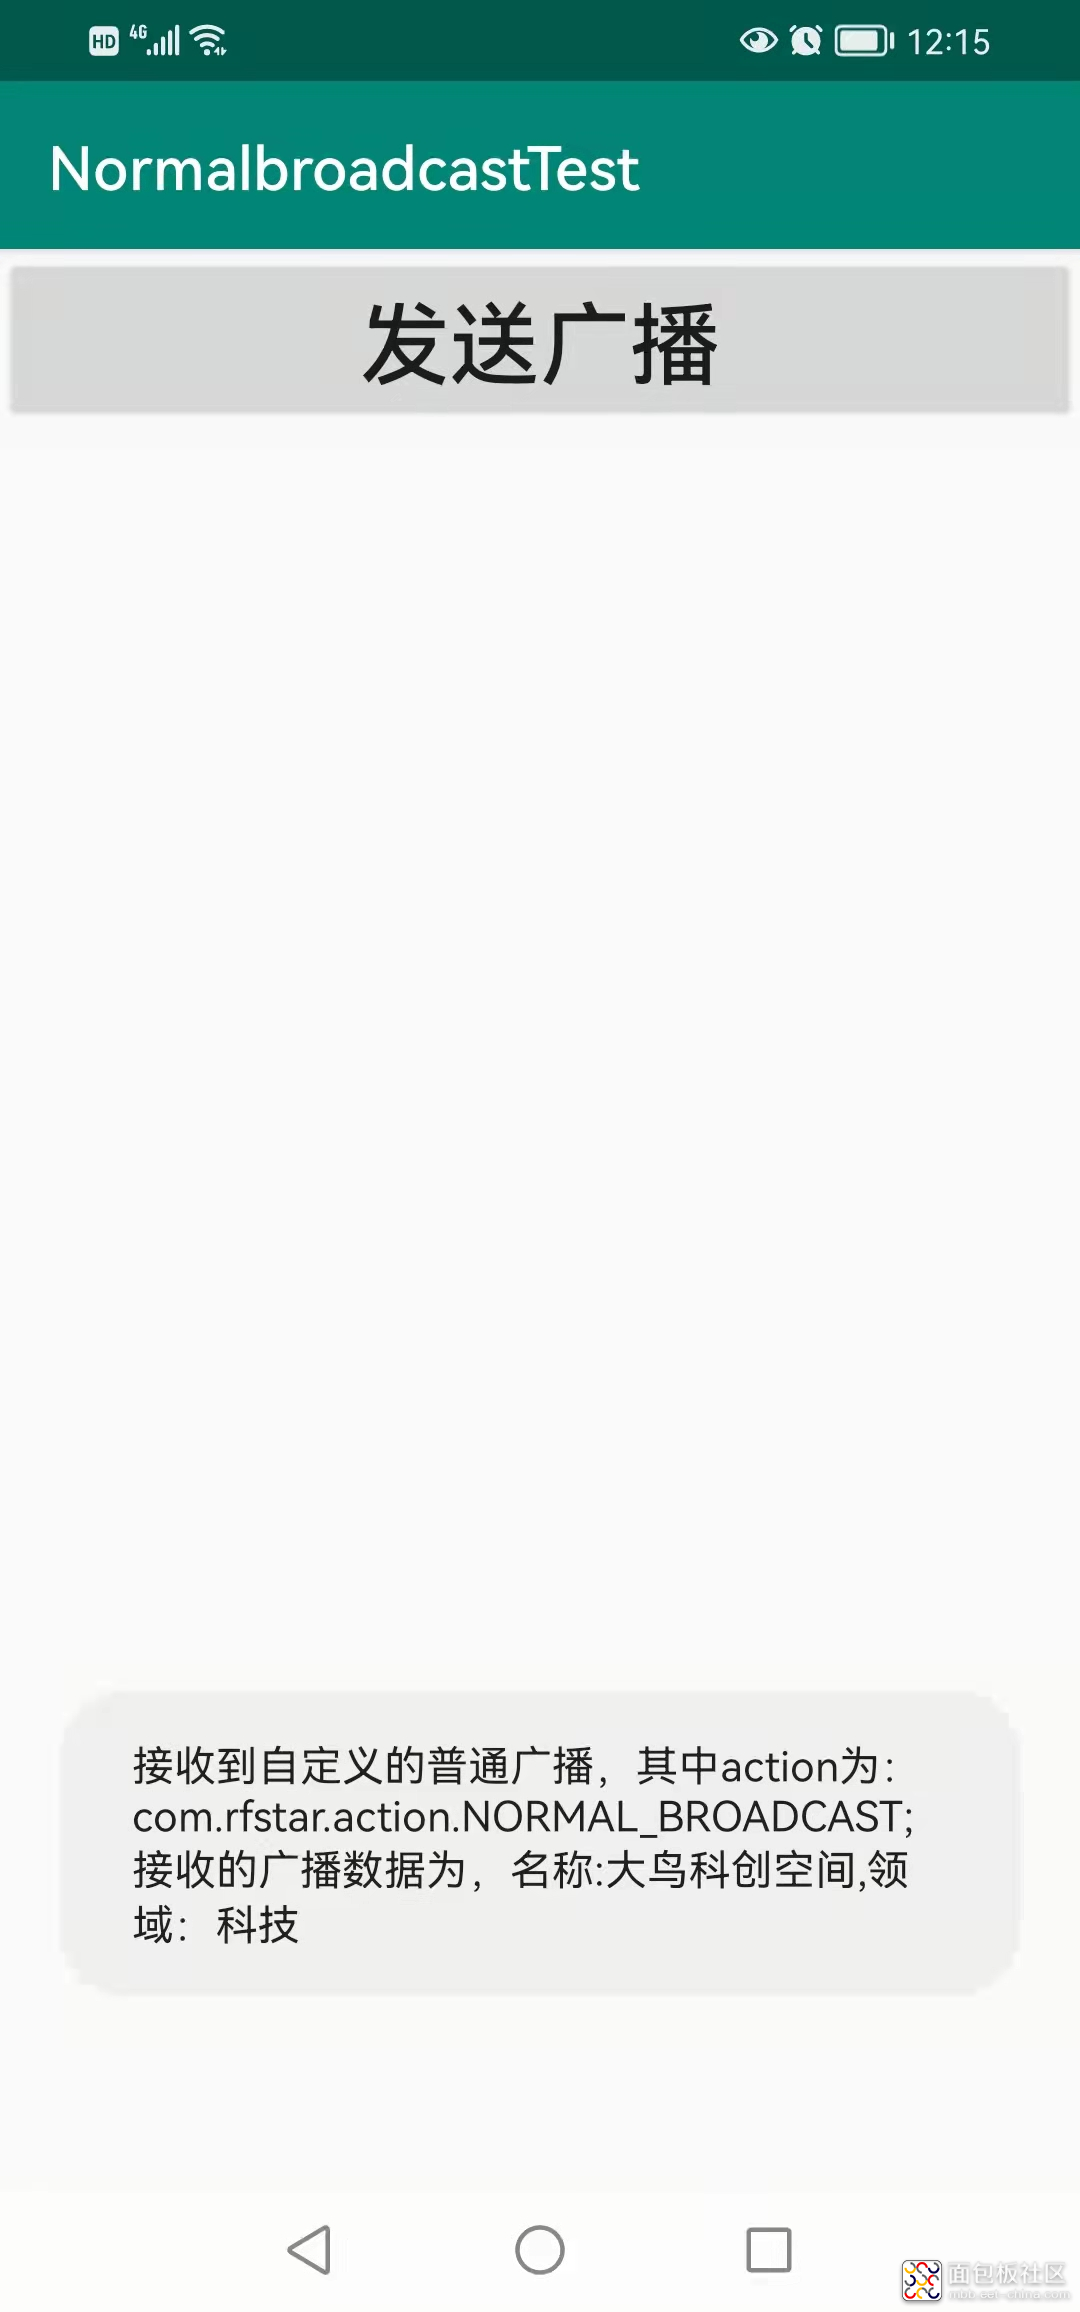
import android.content.BroadcastReceiver;import android.content.Context;import android.content.Intent;import android.os.Bundle;import android.widget.Toast;public class MyReceiver extends BroadcastReceiver { @Override public void onReceive(Context context, Intent intent) { //获取广播的action String action=intent.getAction(); Bundle bundle=intent.getBundleExtra("data"); String name=(String)bundle.get("name"); String field=(String)bundle.get("field"); Toast.makeText(context,"接收到自定义的普通广播,其中action为:"+action+ ";接收的广播数据为,名称:"+name+",领域:"+field,Toast.LENGTH_LONG).show(); }}复制代码逻辑很简单,当 MyReceiver 收到自定义的广播时获取相关的数据,并弹出"接收到自定义的普通广播"和接收到的数据。除了上述代码外,还需要在 AndroidManifest.xml 中对这个广播接收者进行注册∶
<intent-filter>标签中 action 的 name 值正是在 Activity 类中声明的Intent 的 action,两者需要保持一致。运行程序并点击按钮,此时将发出一条普通广播,如下图所示。这样就成功完成了发送自定义普通广播的功能。
android studio工具及手机模拟器以及更多工程源代码下载请前往微信公众号:大鸟科创空间,回复:android studio即可获取。


 /3
/3 


文章评论(0条评论)
登录后参与讨论