修改源码目录结构
先在./applications/sample/wifi-iot/app路径下新建一个目录(或一套目录结构),用于存放业务源码文件。
本例程:在app下新增业务LED,其中led.c为业务代码,BUILD.gn为编译脚本,具体规划目录结构如下:
- .
- └── applications
- └── sample
- └── wifi-iot
- └── app
- │── led
- │ │── led.c
- │ └── BUILD.gn
- └── BUILD.gn

业务代码。
新建./applications/sample/wifi-iot/app/led下的led.c文件,在led.c中新建业务入口函数led,并实现业务逻辑。并在代码最下方,使用HarmonyOS启动恢复模块接口SYS_RUN()启动业务。(SYS_RUN定义在ohos_init.h文件中)
- BUILD.gn为编译脚本
- led.c为业务逻辑代码所在文件
- #include <stdio.h>
- #include <unistd.h>
- #include "ohos_init.h"
- #include "cmsis_os2.h"
- #include "wifiiot_gpio.h"
- #include "wifiiot_gpio_ex.h"
- #define LED_ON_TIME_US 2000000
- #define LED_OFF_TIME_US 1000000
- static void Led(void)
- {
- GpioInit();
- IoSetFunc(WIFI_IOT_IO_NAME_GPIO_9, WIFI_IOT_IO_FUNC_GPIO_9_GPIO);
- GpioSetDir(WIFI_IOT_IO_NAME_GPIO_9, WIFI_IOT_GPIO_DIR_OUT);
- while (1) {
- GpioSetOutputVal(WIFI_IOT_IO_NAME_GPIO_9, 0);
- printf("[DEMO] LED on.\n");
- usleep(LED_ON_TIME_US);
- GpioSetOutputVal(WIFI_IOT_IO_NAME_GPIO_9, 1);
- printf("[DEMO] LED off.\n");
- usleep(LED_OFF_TIME_US);
- }
- }
- SYS_RUN(Led);
BUILD.gn(app/BUILD.gn)
static_library("bahuyang") {sources = ["led.c"
include_dirs = ["//utils/native/lite/include","//kernel/liteos_m/components/cmsis/2.0","//base/iot_hardware/inteRFaces/kits/wifiiot_lite",}
- “bahuyang”:是生成静态库名称,可随意更改
- “led.c”:代码文件
import("//build/lite/config/component/lite_component.gni")
import("//build/lite/config/component/lite_component.gni")
lite_component("app") {features = [#"startup","led:bahuyang"}
- 将"startup"注释,运行我们自己的文件
- “led”:工程目录
- bahuyang:静态库文件
我在以前的文章里,详细讲解了怎样编译。大家可以回头看看。
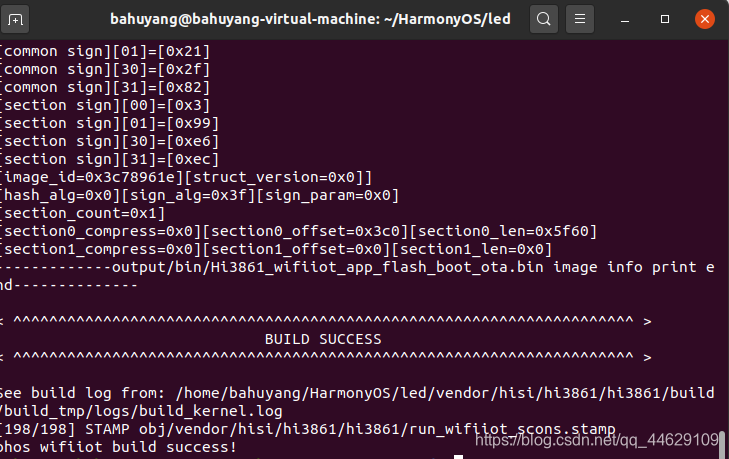
我们进入终端面板下,在对应工程目录下,输入python build.py wifiiot
进行编译,当出现编译成功时,就代表编译完成。

烧录利用HiBurn工具进行烧录,我在以前的文章里,详细讲过。

选定文件后,点击connect,按下开发板复位按钮,进行烧录。
烧录完成后,再次按下复位按键。
观察
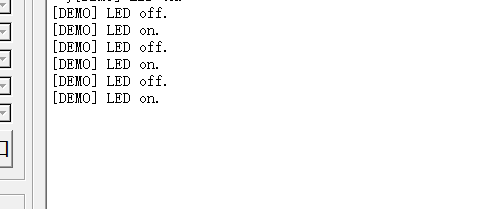
LED灯进行闪烁,且串口打印状态


 /5
/5 


