配置wifi,实现dhcp获取IP地址,并实现ssh远程登录。
【实现步骤】
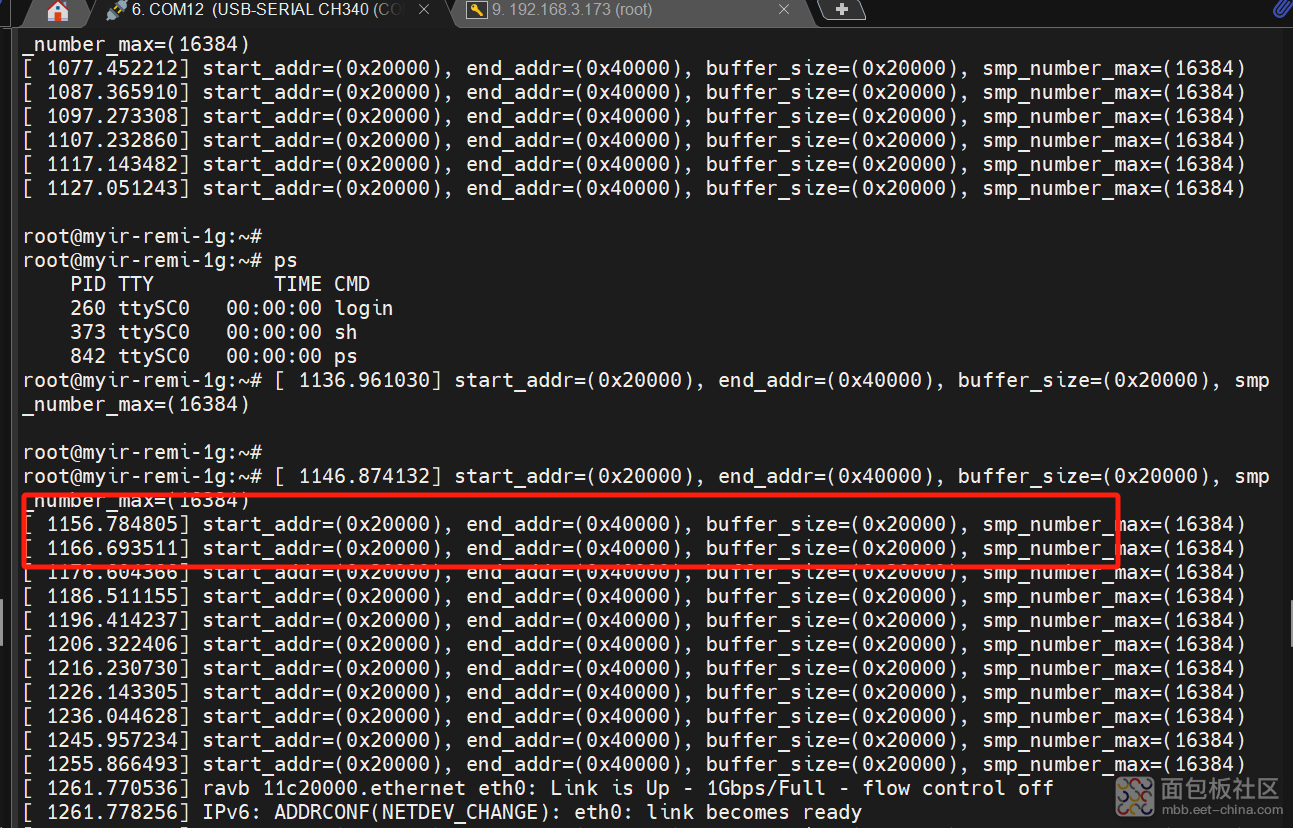
在我使用debug接口,进行登录时,会收到讨厌的日志打印,输入shell命令极为不方便。

根据软件评估指南的WIFI一节,一步一步实现wifi联网:
1、确保 wlan0 网络设备处于激活状态
root@myir-remi-1g:/# rfkill unblock wlan
root@myir-remi-1g:/# ifconfig wlan0 up
复制代码root@myir-remi-1g:~# iw dev wlan0 scan | grep SSID
SSID: HUAWEI-H10R9U
SSID: HUAWEI-H10R9U_Wi-Fi5
SSID: HUAWEI-H10R9U
SSID: HUAWEI-H10R9U_Wi-Fi5
复制代码wpa_passphrase HUAWEI-H10R9U passworld@ >> /etc/wpa_suppli
复制代码
到现在只是配置了文件,还不能联网。
4、关掉 wpa_supplicant 进程
使用 wpa_supplicant 连接、配置 WIFI 之前,看 wpa_supplicant 进程是否打开,然
后关闭该进程。
root@myir-remi-1g:/# killall wpa_supplicant
5、初始化 wpa_supplicant
wpa_supplicant 是一个连接、配置 WIFI 的工具,它的主要工作是通过 socket 与
驱动交互并上报数据给用户层,而用户层也可以通过 socket 发送命令给 wpa_supplicant
调动驱动来对 WiFi 芯片操作。它通常在后台运行,如下所示:
root@myir-remi-1g:~# killall wpa_supplicant
root@myir-remi-1g:~# wpa_supplicant -B -Dnl80211 -c /etc/wpa_supplicant.con
Successfully initialized wpa_supplicant
wpa_supplicant v2.9
Copyright (c) 2003-2019, Jouni Malinen <j@w1.fi> and contributors
This software may be distributed under the terms of the BSD license.
See README for more details.
usage:
wpa_supplicant [-BddhKLqqtuvW] [-P<pid file>] [-g<global ctrl>] \
[-G<group>] \
-i<ifname> -c<config file> [-C<ctrl>] [-D<driver>] [-p<driver_param>] \
[-b<br_ifname>] [-e<entropy file>] \
[-o<override driver>] [-O<override ctrl>] \
[-N -i<ifname> -c<conf> [-C<ctrl>] [-D<driver>] \
[-p<driver_param>] [-b<br_ifname>] [-I<config file>] ...]
drivers:
nl80211 = Linux nl80211/cfg80211
wext = Linux wireless extensions (generic)
hostap = Host AP driver (Intersil Prism2/2.5/3)
wired = Wired Ethernet driver
options:
-b = optional bridge interface name
-B = run daemon in the background
-c = Configuration file
-C = ctrl_interface parameter (only used if -c is not)
-d = increase debugging verbosity (-dd even more)
-D = driver name (can be multiple drivers: nl80211,wext)
-e = entropy file
-g = global ctrl_interface
-G = global ctrl_interface group
-h = show this help text
-i = interface name
-I = additional configuration file
-K = include keys (passwords, etc.) in debug output
-L = show license (BSD)
-N = start describing new interface
-o = override driver parameter for new interfaces
-O = override ctrl_interface parameter for new interfaces
-p = driver parameters
-P = PID file
-q = decrease debugging verbosity (-qq even less)
-t = include timestamp in debug messages
-u = enable DBus control interface
-v = show version
-W = wait for a control interface monitor before starting
example:
wpa_supplicant -Dnl80211 -iwlan0 -c/etc/wpa_supplicant.conf
复制代码root@myir-remi-1g:~# udhcpc -i wlan0
udhcpc: started, v1.31.1
udhcpc: sending discover
udhcpc: sending select for 192.168.3.172
udhcpc: received DHCP NAK
udhcpc: sending discover
udhcpc: sending select for 192.168.3.173
udhcpc: lease of 192.168.3.173 obtained, lease time 86400
RTNETLINK answers: File exists
/etc/udhcpc.d/50default: Adding DNS 192.168.3.1
复制代码7、修改root的密码,使用passwd来给root设置密码。
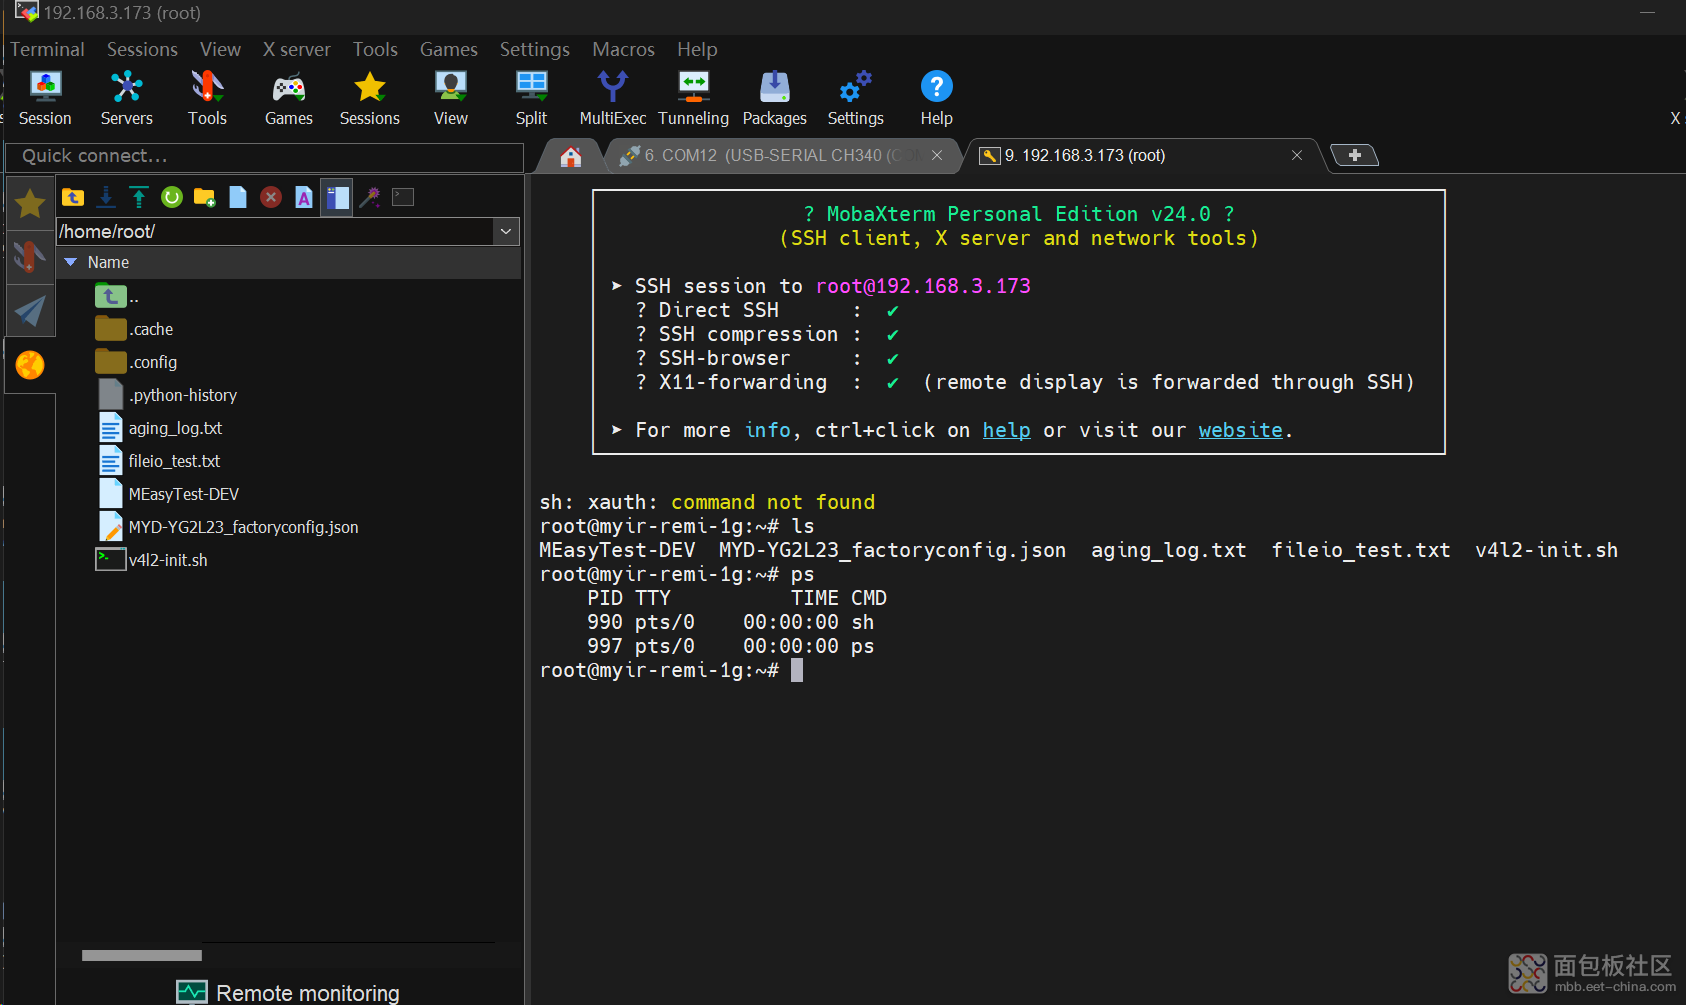
8、远程登录,使用shell或者登录工具连接我刚才获取的ip地址就可以登录上了。

【总结】
米尔提供的《Pemi Pi_linux软件评估指南》提供了非常详细的使用说明,根据他们的指引,可以快速的这现连联。


 /5
/5 


