打开SDK目录中的printf例程:
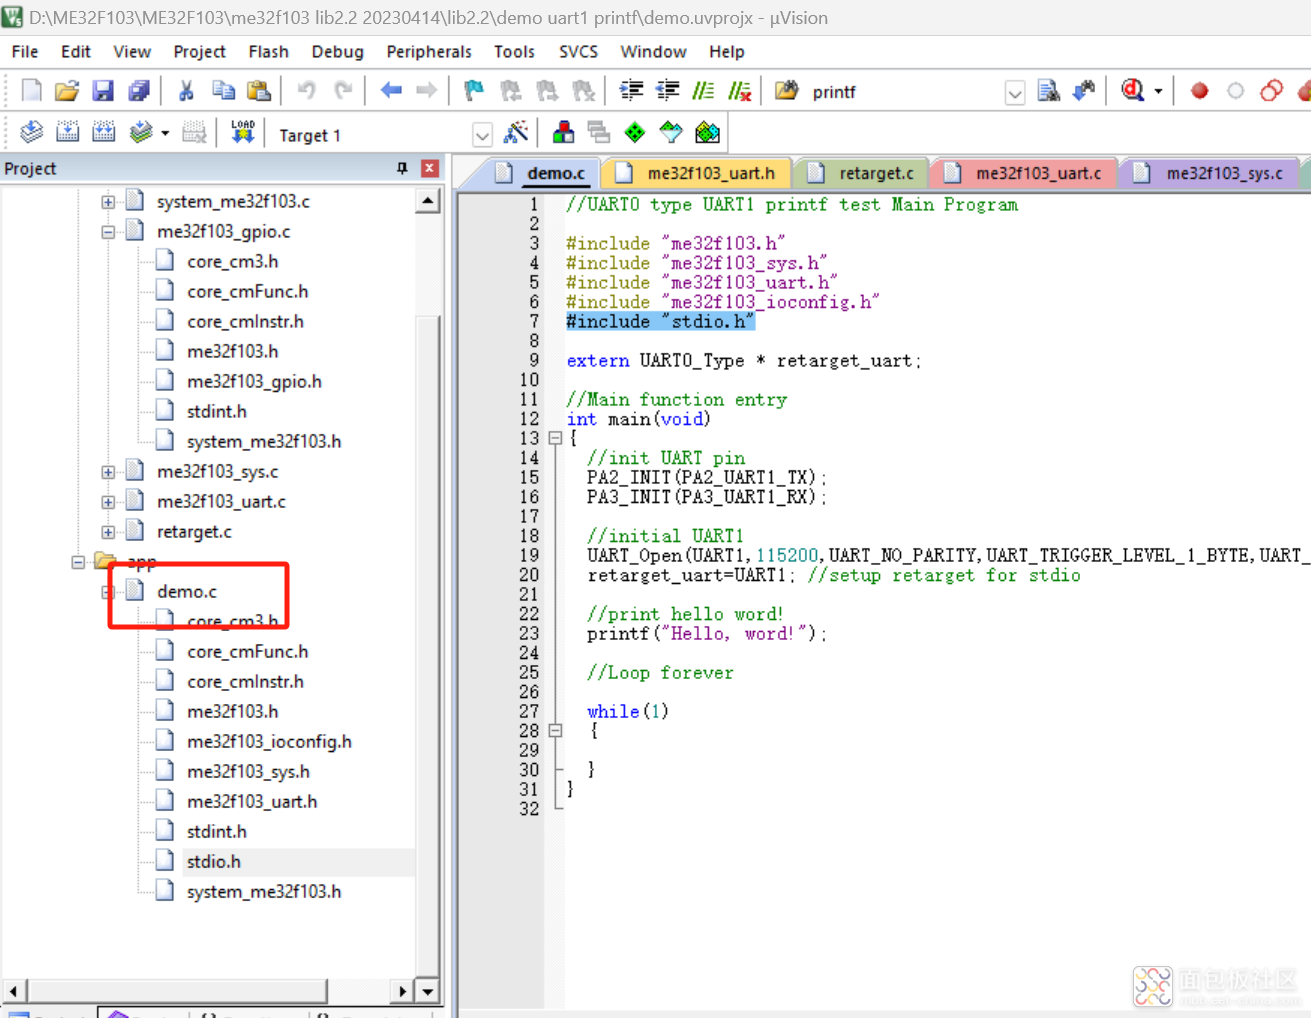
在例程中引入了"stdio.h"
同时使用 extern UART0_Type * retarget_uart;以及 retarget_uart=UART1; //setup retarget for stdio,这实现printf的重定向
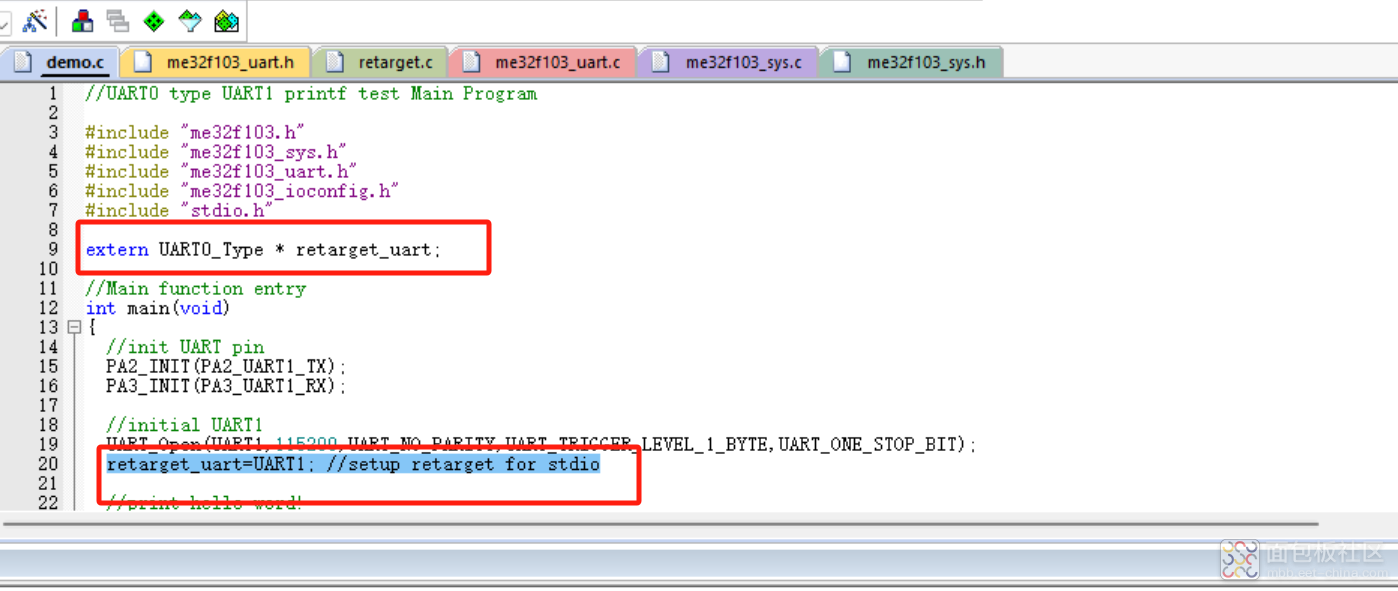
在retarget.c中,实现了串口重定向的功能:
#if !(defined(__ICCARM__) && (__VER__ >= 6010000))
struct __FILE { int handle; /* Add whatever you need here */ };
#endif
FILE __stdout;
FILE __stdin;
复制代码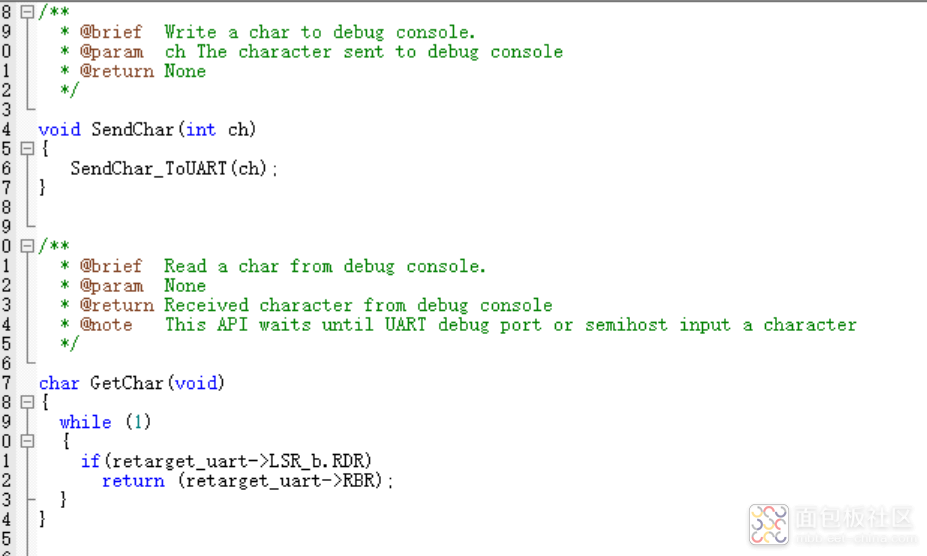
这样写的好处就是不使用使用微库。而且在用户的工程中,只需要引用以上的几个库,就可以轻松的实现printf重定向了。
【测试结果】
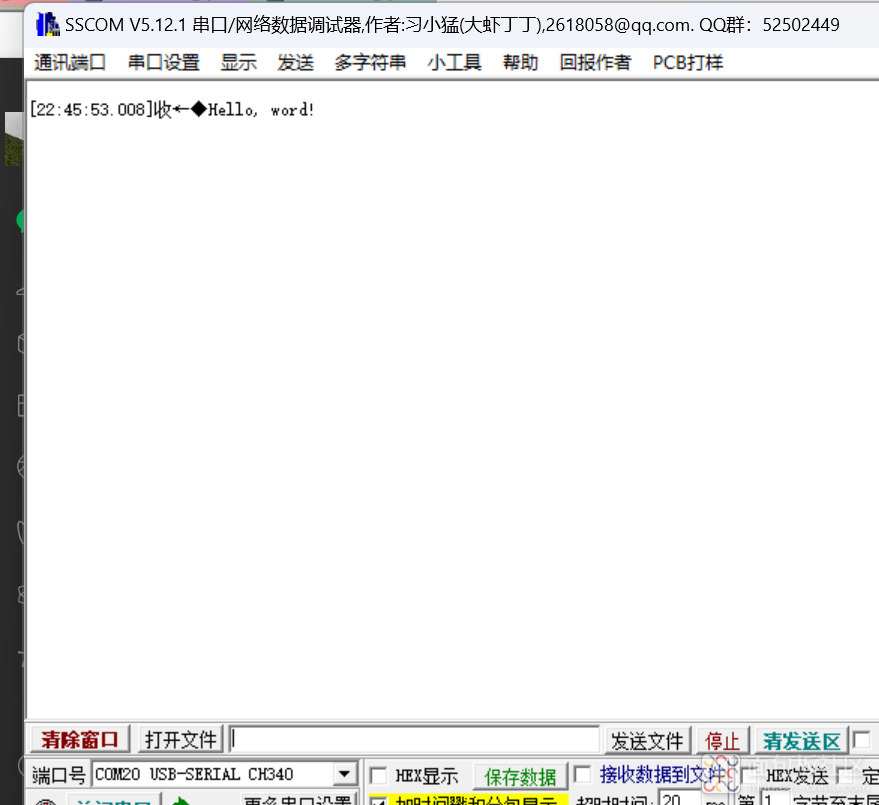
下载到开发板后,就可以监测到成功的输出了"hello world"
【总结】
官方给出了非常友好的库,使用得驱动串口非常简单,工程移植也简单,同时SDK中还给出了很多的串口例子,用户只需要引入指定的库就可以成功的驱动。把主要精力放在程序设计中去。


 /4
/4 
