
本文讲述的是如何从零开始,使用keil建立一个简单的STM32的工程,并闪烁LED灯。
第一步,建立一个文件夹

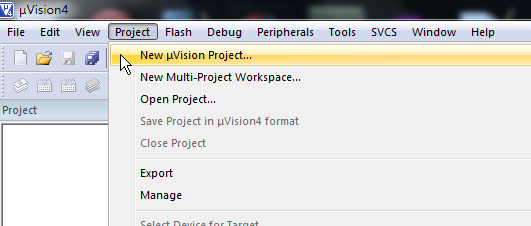
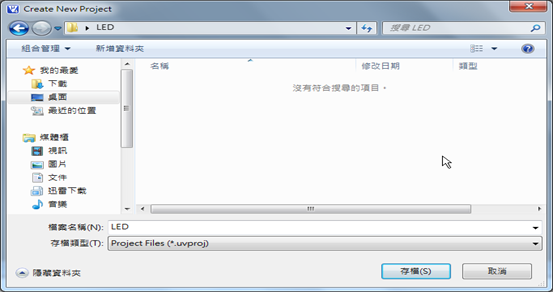
第二步,打开keil,建立工程

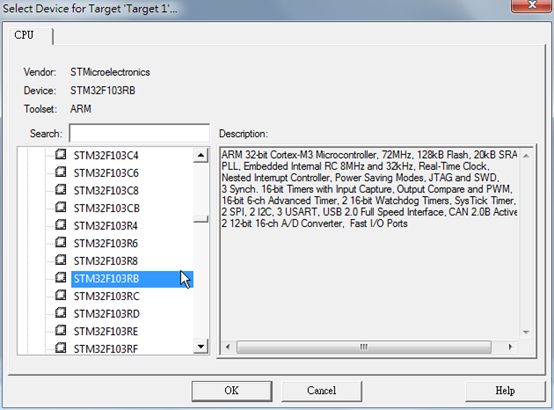
在弹出来的对话框中选择你所用的STM32的芯片。

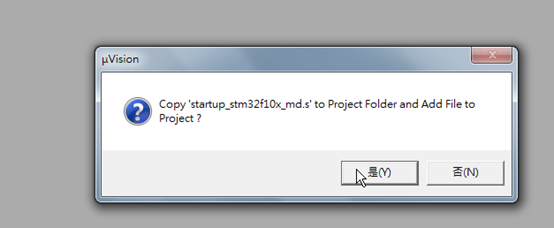
在接下来弹出来的对话框中选择是,这样keil就帮我们建立好了启动文件。

第三步,新建一个main.c文件,并添加到工程中。

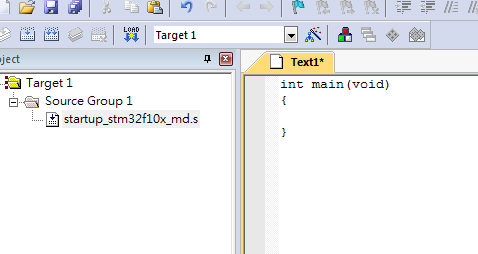
点击New按钮,建立一个文本文件。

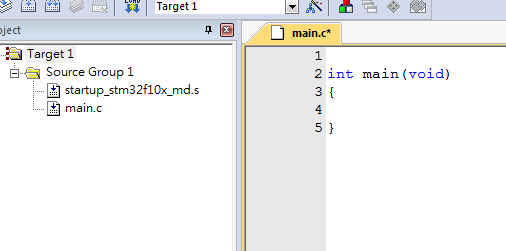
在建立的文本文件中输入C中的main函数
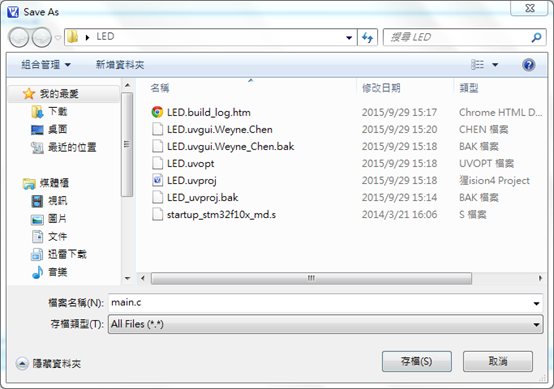
点击保存

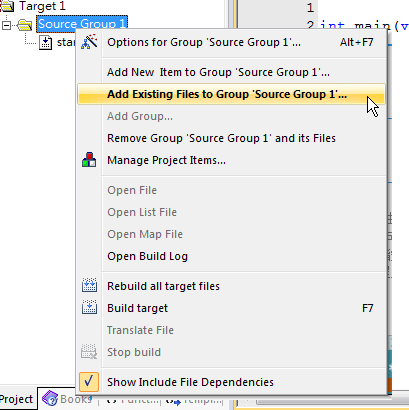
保存后,将文件添加到工程中

第四步,点击编译
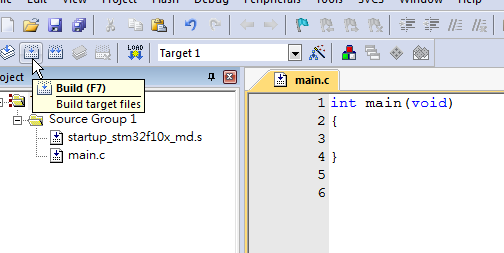
编译,程序没有报错了。至此,一个STM32的工程就建立完成了。
第五步,将下面的代码复制粘贴
#define PERIPH_BASE ((unsigned int)0x40000000)#define APB2PERIPH_BASE (PERIPH_BASE + 0x10000)
#define GPIOA_BASE (APB2PERIPH_BASE + 0x0800)
#define GPIOB_BASE (APB2PERIPH_BASE + 0x0C00)
#define GPIOC_BASE (APB2PERIPH_BASE + 0x1000)
#define GPIOD_BASE (APB2PERIPH_BASE + 0x1400)
#define GPIOE_BASE (APB2PERIPH_BASE + 0x1800)
#define GPIOF_BASE (APB2PERIPH_BASE + 0x1C00)
#define GPIOG_BASE (APB2PERIPH_BASE + 0x2000)
#define GPIOA_ODR_Addr (GPIOA_BASE+12) //0x4001080C
#define GPIOB_ODR_Addr (GPIOB_BASE+12) //0x40010C0C
#define GPIOC_ODR_Addr (GPIOC_BASE+12) //0x4001100C
#define GPIOD_ODR_Addr (GPIOD_BASE+12) //0x4001140C
#define GPIOE_ODR_Addr (GPIOE_BASE+12) //0x4001180C
#define GPIOF_ODR_Addr (GPIOF_BASE+12) //0x40011A0C
#define GPIOG_ODR_Addr (GPIOG_BASE+12) //0x40011E0C
#define BITBAND(addr, bitnum) ((addr & 0xF0000000)+0x2000000+((addr &0xFFFFF)<<5)+(bitnum<<2))
#define MEM_ADDR(addr) *((volatile unsigned long *)(addr))
#define LED0 MEM_ADDR(BITBAND(GPIOA_ODR_Addr,8))
//#define LED0 *((volatile unsigned long *)(0x422101a0)) //PA8
typedef struct
{
volatile unsigned int CR;
volatile unsigned int CFGR;
volatile unsigned int CIR;
volatile unsigned int APB2RSTR;
volatile unsigned int APB1RSTR;
volatile unsigned int AHBENR;
volatile unsigned int APB2ENR;
volatile unsigned int APB1ENR;
volatile unsigned int BDCR;
volatile unsigned int CSR;
} RCC_TypeDef;
#define RCC ((RCC_TypeDef *)0x40021000)
typedef struct
{
volatile unsigned int CRL;
volatile unsigned int CRH;
volatile unsigned int IDR;
volatile unsigned int ODR;
volatile unsigned int BSRR;
volatile unsigned int BRR;
volatile unsigned int LCKR;
} GPIO_TypeDef;
#define GPIOA ((GPIO_TypeDef *)GPIOA_BASE)
void LEDInit(void)
{
RCC->APB2ENR|=1<<2; //GPIOA 时钟开启
GPIOA->CRH&=0XFFFFFFF0;
GPIOA->CRH|=0X00000003;
}
//粗略延时
void Delay_ms(volatile unsigned int t)
{
unsigned int i,n;
for(n=0;n<t;n++)
for(i=0;i<800;i++);
}
int main(void)
{
LEDInit();
while(1)
{
LED0=0;
Delay_ms(500);
LED0=1;
Delay_ms(500);
}
}
void SystemInit(void)
{
}
下面一段是对代码的简单讲解,可不用太深入。
/////////////////////////////////////////////////////////////////////////////////////////////////////////////////////////////////////
STM32 GPIO输出高低电平的完整流程如下:
配置时钟→配置IO口→IO口输出高地电平
1,STM32的时钟是可以PLL的。但是我这里为了简化操作,就不配置,只使用默认的时钟----内部8MZH振荡器。
2,硬件上,我的LED灯是接到PA8。那么,我要怎么控制PA8呢?
STM32不能像单片机一样,一上来就能操作IO口。要操作STM32的IO口,首先要配置IO口。
void LEDInit(void)
{
RCC->APB2ENR|=1<<2;
GPIOA->CRH&=0XFFFFFFF0;
GPIOA->CRH|=0X00000003;
}
其中RCC->APB2ENR|=1<<2;是使能GPIOA的时钟。若是要使能GPIOB的时钟则是RCC->APB2ENR|=1<<3;其他的以此类推。
GPIOA->CRH&=0XFFFFFFF0;
GPIOA->CRH|=0X00000003;
是配置PA8为推挽输出,50MHZ。
若是要设置PA9则是:
GPIOA->CRH&=0XFFFFFF0F;
GPIOA->CRH|=0X00000030;
其他的以此类推,若是PA0~PA7则将CRH改为CRL就行。
若是要配置其他GPIO口,将GPIOA改成GPIOB,GPIOC。。。就行。,
3,我们知道51单片机是可以单独控制每个IO口的,STM32也可以做到,这个机制叫做Bit-Bond。
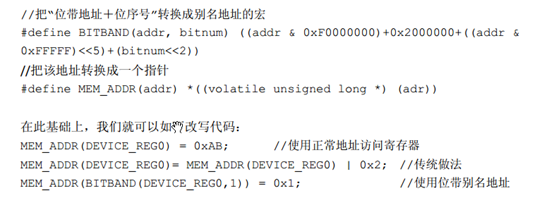
参考《Cortex-M3权威指南》可知道,只要找到PA8输出寄存器在Bit-Bond的地址,即可操作PA8的输出。地址的计算方法如下图:


《Cortex-M3权威指南》还给出了C语言宏定义的方法,我们可以直接使用。

/////////////////////////////////////////////////////////////////////////////////////////////////////////////////////////////////////////
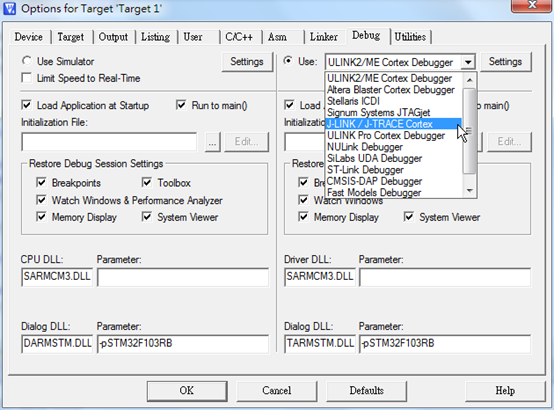
将上述代码输入后,点开配置选项,配置如下:

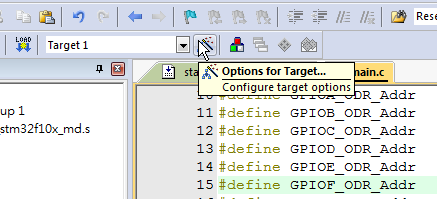
勾上 Create HEX File


选择J-Link下载工具

再次build,然后下载就大功告成啦。


综上可以看出,若是不配置STM32的PLL,那么相对于51单片机,STM32闪烁LED灯只不过多了一个步骤----配置GPIO口为输出而已。


 /5
/5 


