参考帖子链接:
——————————————————————————————————————————————————————————————————
【东芝TT_M3HQ开发板试用体验】+快速开始
注意:J6短接帽接错,应短接在J5。
搭建开发环境
1.驱动下载与安装。Arm Mbed Windows Serial PortDriver
下载地址:http://os.mbed.com/media/downloads/drivers/mbedWinSerial_16466.exe
驱动安装:用USB线连接开发板(CH1)与电脑,双击驱动安装程序开始安装。
串口安装。
若要实现串口通信则需安装串口驱动:CP210x_Universal_Windows_Driver
![图1.png 图1.png](https://static.assets-stash.eet-china.com/forum/201908/27/232900jfshnn6syl6h6q3m.png)
上图解决方式:下载一个驱动精灵安装驱动
2.开发环境搭建方法
2.1 Online with the Mbed OnlineCompiler
注册Arm Mbed账号。网址:https://os.mbed.com/。注册账号后点击Compiler
![图2.png 图2.png](https://static.assets-stash.eet-china.com/forum/201908/27/232900pwqz0bn5iq060oew.png)
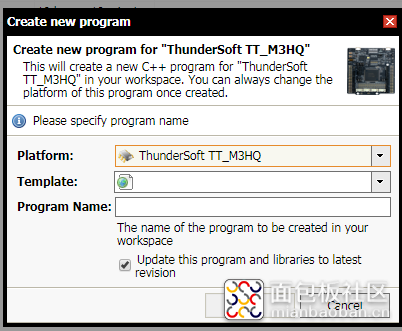
点击左上角New新建一个工程
![图3.png 图3.png](https://static.assets-stash.eet-china.com/forum/201908/27/232900nxbzjjhebreliobi.png)
此款开发板全称TTunderSoft TT_M3HQ。这里我已经导入了此型号开发板,若第一次使用的小伙伴可能和我操作顺序有些出入。若此处开发板型号不对也没有关系,只需填写好工程名称点击OK即可。点击右上角图标可修改开发板型号
![图4.png 图4.png](https://static.assets-stash.eet-china.com/forum/201908/27/232901bxexqmxppiqfzrep.png)
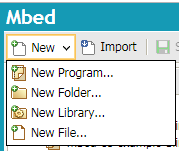
新建工程及修改开发板型号后,点击New右边下三角New File。注:文件名字后缀要写.cpp。
![图5.png 图5.png](https://static.assets-stash.eet-china.com/forum/201908/27/232901i9q2e1zspppv56bq.png)
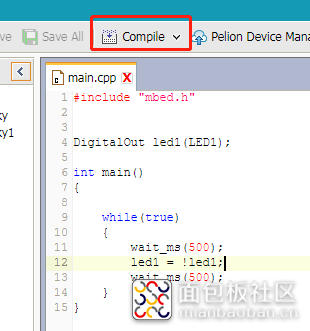
下面给出官方例程代码,供参考。
#include "mbed.h" DigitalOut led1(LED1); int main() { while(true) { wait_ms(500); led1 = !led1; wait_ms(500); } } |
点击一级菜单Compile进行编译
![图6.png 图6.png](https://static.assets-stash.eet-china.com/forum/201908/27/232901dxz89xtjuj7h83ei.png)
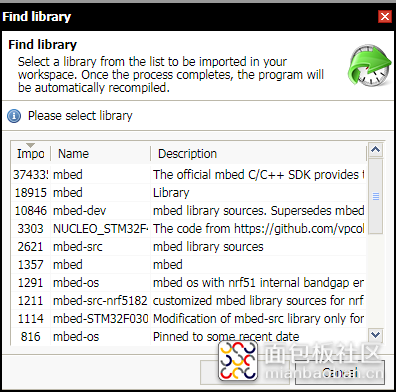
此时提示没有“mbed.h”头文件。解决该错误方式:手动导入头文件。
![图7.png 图7.png](https://static.assets-stash.eet-china.com/forum/201908/27/232901k0n0k1cdq0749331.png)
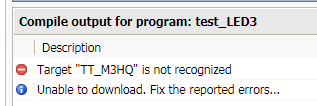
点击Error中的Fix it按钮。选择第二个,实测可用。小弟当时下载第一个,导入编译一直显示TargetTT_M3HQ”is not recognized
![图8.png 图8.png](https://static.assets-stash.eet-china.com/forum/201908/27/232901dxx7haxaxz5xxap7.png)
![图9.png 图9.png](https://static.assets-stash.eet-china.com/forum/201908/27/232901m0kymkwn91gm5tve.png)
再次点击编译按钮,编译完成后会自动下载.bin文件,直接拖拽到TT_M3HQ(H:)重新复位即可
![图10.png 图10.png](https://static.assets-stash.eet-china.com/forum/201908/27/232901tlppo93um6mx9pgu.png)
不知各位能否点亮LED1,小弟板子很奇怪没法点亮。第一种在线编译方式可快速发布到社区,且不需安装软件在任何一台有网的电脑都可进行代码编写。缺点:可能是连接到外网,网速限制非常严重,若想导入大容量头文件需要等待很长时间。
2.2keil5
Keil5安装可以参考下文连接,此楼主写的非常详细。
此处默认各位成功安装keil5
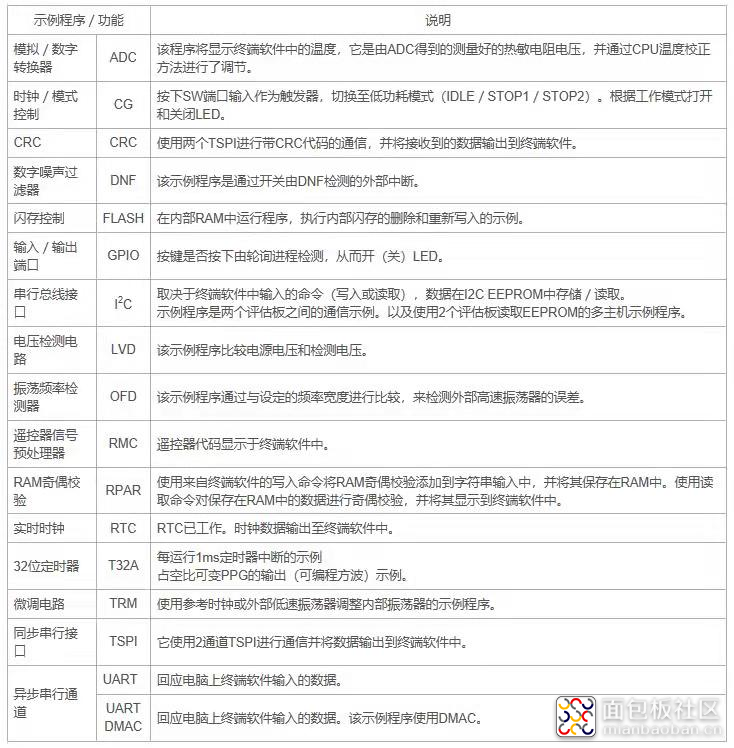
下文附件有开发板基于Keil5开发环境的例程代码。此处附上示例代码目录图
![图11.png 图11.png](https://static.assets-stash.eet-china.com/forum/201908/27/232901vyya0y07t80dh5zn.png)
通过阅读此目录树,小弟需烧写GPIO例程验证开发板是否有问题。
点击魔术棒。点击Debug选项,具体如图。
![图12.png 图12.png](https://static.assets-stash.eet-china.com/forum/201908/27/232901iuuluhgg1gp1qtsu.png)
![图13.png 图13.png](https://static.assets-stash.eet-china.com/forum/201908/27/232901il8wnnul0kn0uvwv.png)
若出现红色方框内容则表示开发板识别成功
![图14.png 图14.png](https://static.assets-stash.eet-china.com/forum/201908/27/232902dfpl6gsx1v1sfcvo.png)
点击LOAD,板子重新复位。
![图15.png 图15.png](https://static.assets-stash.eet-china.com/forum/201908/27/232902mhidsq9ih7mqppb8.png)
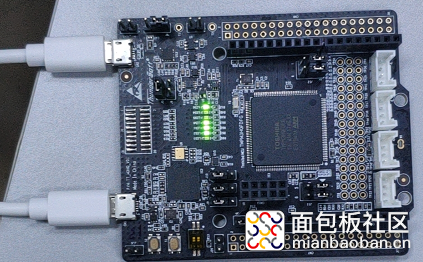
LED灯都可以亮。总结:方法1中导入的头文件可能也有问题。
![图16.png 图16.png](https://static.assets-stash.eet-china.com/forum/201908/27/232902svfca9c9k9d9292d.png)
注CH1为DEBUG串口,CH2为单片机串口。
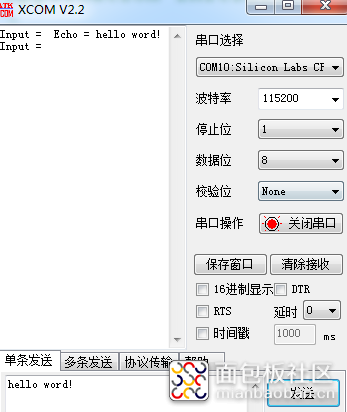
烧写例程代码“UART”并打开串口助手
![图17.png 图17.png](https://static.assets-stash.eet-china.com/forum/201908/27/232902zb5jsgykr4b5en4r.png)