本项目来自于开源AI项目:https://gitcode.com/langgptai/ImageDetection。
这是一个基于YOLO(You Only Look Once)的实时目标检测项目,可以处理视频和图片。本项目特别适合想要入门计算机视觉和深度学习的初学者。
本篇旨为带领大家在【米尔-瑞芯微RK3576核心板及开发板】实现YOLO实时目标检测。
【主要功能】
使用【米尔-瑞芯微RK3576核心板及开发板】实现实时分类检测。
【环境要求】
https://mbb.eet-china.com/forum/topic/147562_1_1.html
这一篇我详细介绍了Anaconda环境的创建。请在虚拟环境中安装以下组件:
- Python 3.8 或更高版本
- OpenCV (cv2)
- Ultralytics YOLO
根据项目,我们下载项目:# 基础依赖复制代码
- pip install torch torchvision
- pip install transformers
- pip install pillow
- pip install opencv-python
- pip install ultralytics
- pip install tqdm
- pip install ffmpeg-python
- # 如果下载速度慢,可以使用清华源:
- pip install -i https://pypi.tuna.tsinghua.edu.cn/simple torch torchvision
- pip install -i https://pypi.tuna.tsinghua.edu.cn/simple transformers pillow opencv-python ultralytics tqdm ffmpeg-python
【代码编写】git clone https://gitcode.com/langgptai/ImageDetection.git复制代码
- cd ImageDetection
- pip install ultralytics opencv-python imageio
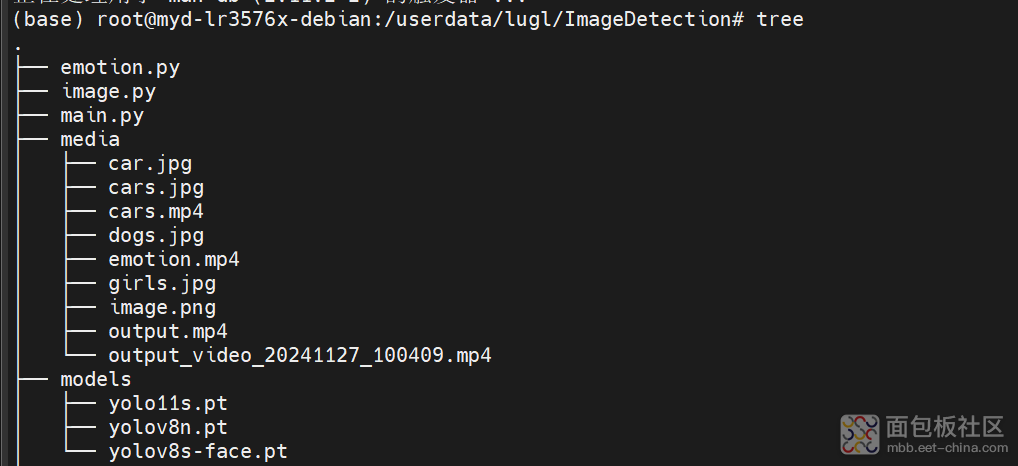
确保项目的文件如下:import cv2复制代码
- from ultralytics import YOLO
- # 加载模型
- model = YOLO("./models/yolo11s.pt") # 假设我们使用的是 YOLOv8 的 nano 模型
- # 读取图片
- image_path = "media/image.png"
- image = cv2.imread(image_path)
- # 进行目标检测
- results = model.predict(source=image, save=True, save_txt=True) # 保存检测结果为图片和文本文件
- # 打印检测结果
- for result in results:
- boxes = result.boxes
- for box in boxes:
- if box.conf >= 0.5: # 只绘制概率在 0.5 及以上的检测结果
- print(f"类别: {box.cls}, 置信度: {box.conf}, 边界框: {box.xyxy}")
- # 提取类别标签和置信度
- label = f"{model.names[int(box.cls)]} {float(box.conf):.2f}"
- # 绘制边界框和类别标签
- x1, y1, x2, y2 = box.xyxy[0]
- x1, y1, x2, y2 = int(x1), int(y1), int(x2), int(y2)
- cv2.rectangle(image, (x1, y1), (x2, y2), (0, 255, 0), 2)
- cv2.putText(image, label, (x1, y1 - 10), cv2.FONT_HERSHEY_SIMPLEX, 0.5, (0, 255, 0), 2)
- # 显示图像
- cv2.imshow("Image with Detection", image)
- cv2.waitKey(0)
- cv2.destroyAllWindows()

验证,在media中放入imag.jpg,

然后执行python image.py
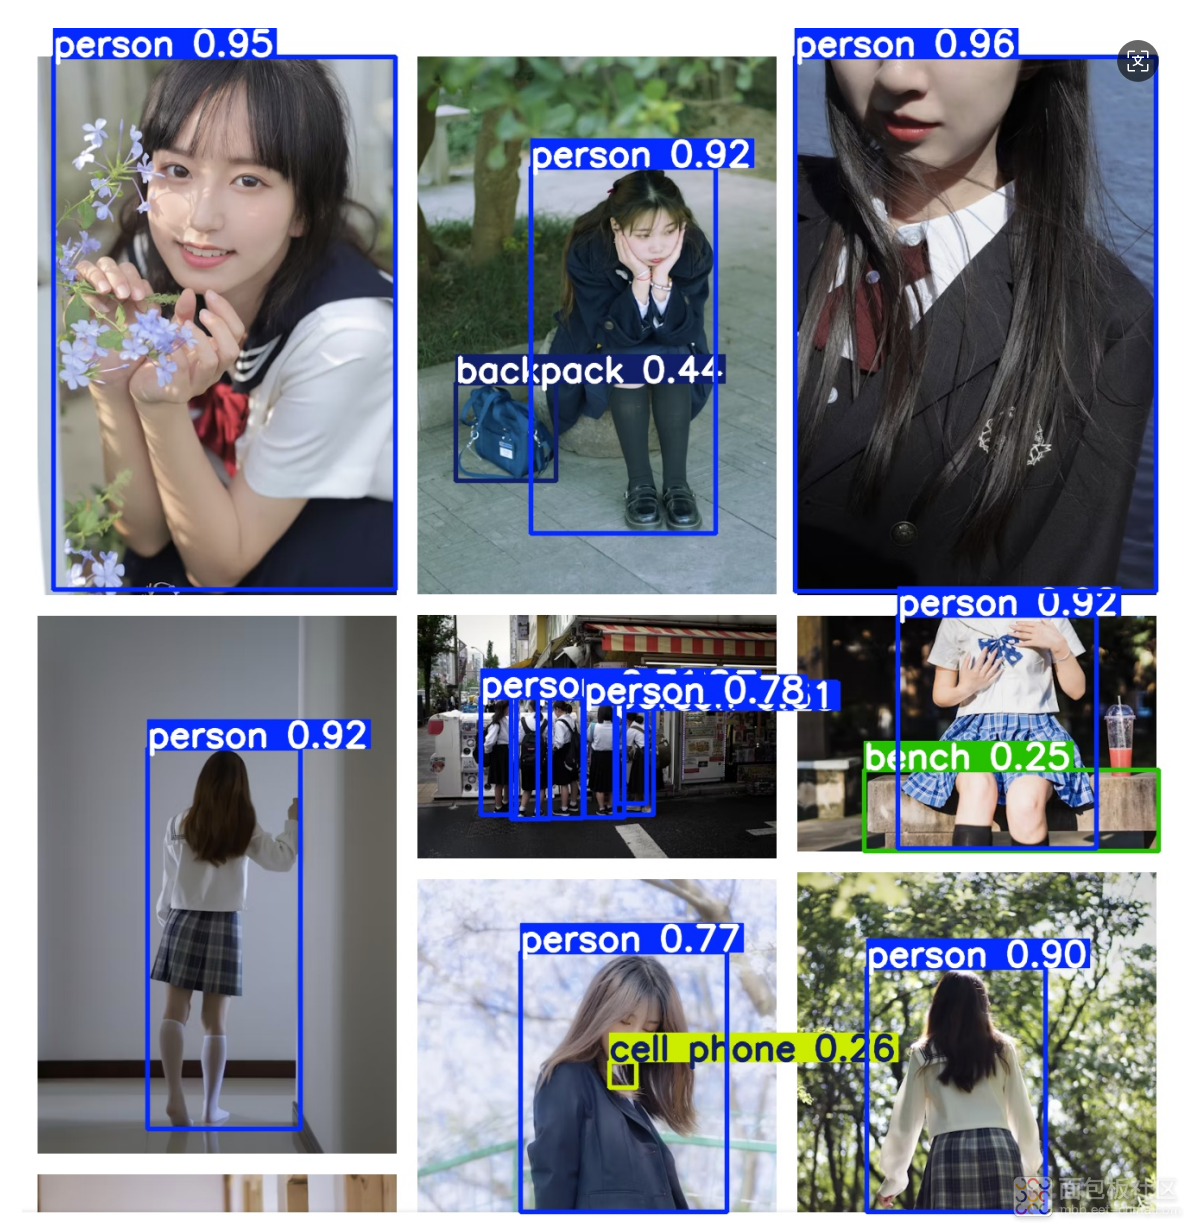
后在runs/dectects/predict/目录下生成image0.jpg

如果我们想识别另一张图,那就修改
同时也会在当前窗口中生成预览。# 读取图片复制代码
- image_path = "media/image.png"
- pip install torch torchvision


 /2
/2 
